
Hello and Welcome to my creative corner of the web. I want to start by thanking Cheryl Sleboda of www.Muppin.com and www.SewMuchCosplay.com for hosting this blog hop as it was just the motivation that I needed to finish this project.
 .
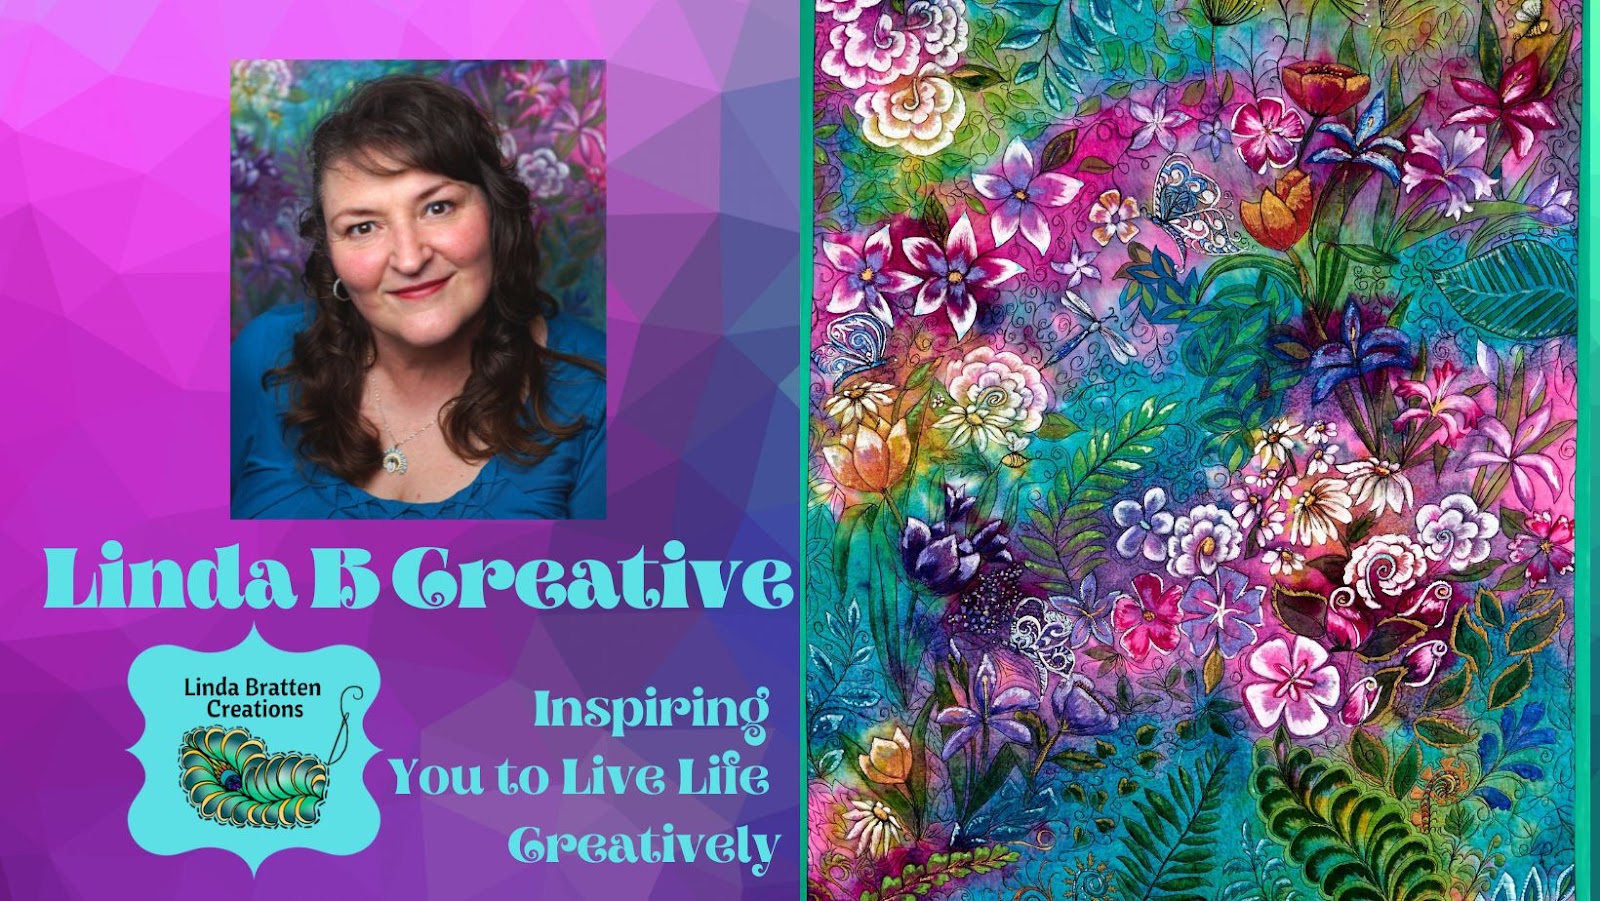
.My name is Linda and I love all things sewing and quilting. While my roots are in traditional quilting, I love to create art quilts and add a bit of mixed media to each piece. I also teach workshops and create patterns to help others develop their sewing and quilting skills.
 |
| This is a small sample of some of my mixed media art quilts |
 |
| This is my whole cloth quilt, My Fantasy Garden by Linda Bratten |
 |
| This is one of my Sew Very Sketchy pattern line that teaches others to create with mixed media. |
I live in Central Missouri, USA, in a small home on 15 acres. Shortly after our sons left home, my husband and I decided to downsize and relocate to a rural setting. However, that meant that I lost my extra large sewing studio and a large basement for storing my "material passion". Living in the country also means that it is a 45 minute drive to the nearest town with a fabric/craft store.
 |
| My humble abode. |
 |
| We live at the end of the road that the locals call, "Friendship Bottoms". |
While I have had both a large studio and a small studio, I have learned that I have the tendency to fill them accordingly. Thus it is best to keep the area small and manageable.
 |
| My ironing station. |
I am fortunate to have great machines to work with and large cutting and ironing workstations. This combination means there is little floor space in my studio, and I personally cannot grow any wider or I will not be able to maneuver around the room!
So to get started, here are my "before" photos of the areas I needed to work on.
 |
| Poor Jane is a collector of sewing notions and other mixed media products. |
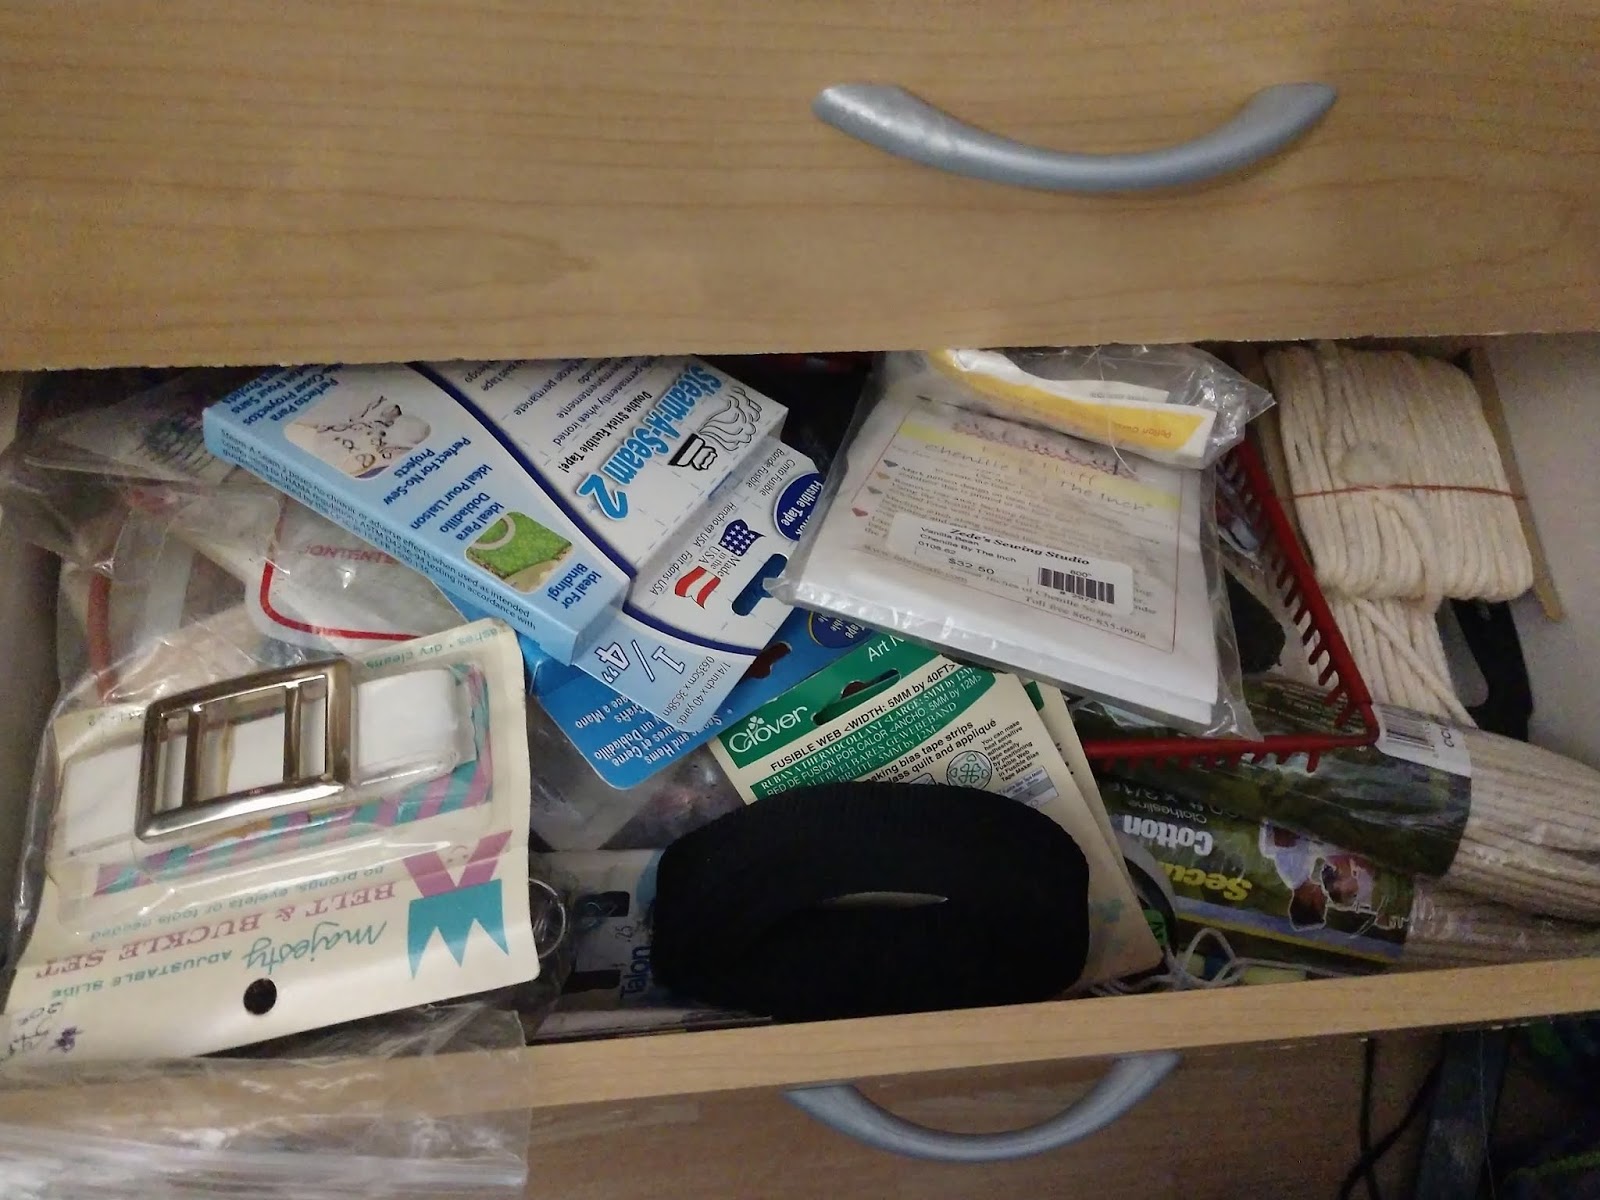 |
| A drawer in serious need of help. |
While I enjoy not having as much over all to maintain daily, it is sometimes a struggle to keep the clutter cleared. Also finding appropriate storage for all my different interests (translated all my mixed media supplies) can be challenging. Then there is the fact that not only am I busy as the solo-preneur of Linda Bratten Creations with a busy teaching and designing schedule, I also help my family run a local furniture and mattress business. This means that some weeks I catch myself coming and going, with a bad habit of leaving piles of projects on my workspaces.
That being said, I was able to participate in the Spring Clean Your Studio last year. That helped me to implement some basic habits to keep my work surfaces clean. This year's call to participate came when I was actually in the middle of decluttering my studio storage. So I will share with you some of the things that I believe will help me to maintain a more functional studio.
 |
| I had a ton of mixed media products in excessive, un-stackable packaging. |
 |
| Getting rid of the packaging made storage of the products easier. |
One of the things that I did this year was to remove packaging. As a teacher when I share a product that I love to use, I show the package it came in so my students know exactly what they are looking for. I decided that a photo of the package is easier to store. After removing several bags of recyclables and trash from my studio, my drawers now shut and my shelves hold my favorite supplies and they are easily accessible. During this portion I also checked to make sure products were still useable for their intended purpose.
I also discovered that I must have an unusual desire to collect notebooks and journals. So I donated and shared my abundance in this area with others. It was probably a great help for me to be aware of this tendency, especially when tempted in the stationary aisle.
 |
| So drawers that looked like this. |
 |
| Were sorted into functional storage areas. |
 |
| With large identifiable labels. |
I also used my time to sort through what products and parts (many used to create purses and bags) are needed and grouped like items together. I now have a central location for purse hardware, buttons, ribbons, paints, stencils, etc. This should cut down on the time I used to spend looking for needed items, and should give me more creative time and less stress.
 |
| Small stackable totes contain UFO's and Class Samples. |
 |
| More half finished Class Samples contained in gallon storage bags. |
I also corralled all my UFO's and half finished class samples into plastic gallon bags and totes, labeling them and setting them aside. My next plan of attack is to decide what I really want to finish, and what needs to be passed on.
 |
| These are my Class Content Binders, Samples, and the top of my desk. |
 |
| The remaining binders, books, and samples |
 |
| Finally, a place to plan! |
Finally, last year I commented that I needed to go through my 3-Ring notebooks full of classes, patterns and content and purge what is not necessary for me to keep. I am proud to say, that it has been accomplished and I believe I now have 8 empty binders! This was probably the most difficult to purge because of all the blood, sweat and years it took to create some of the pieces.
Last year when I shared photos, someone mentioned that the studio looked dark. So I did change some light bulbs to LED bulbs with more watts, and added some more workspace lighting.
 |
| Jane with my Shashkio Machine behind her. |
 |
| My Singer 401A |
I should also perhaps reassess the number of machines that I have available. I do use them for different purposes and they help me to accomplish my work so for now I will keep them.
 |
| Thread and Specialty Thread Storage |
 |
| My large cutting station |
 |
| Storage at the end of the cutting station, on top my serger and other sewing machine. |
 |
| Two dressers placed back to back form my cutting station, the drawers were purged and organized! |
It is still a small space loaded with supplies. Having the items that I love to use available without having to make the long drive into town is the trade off. It allows me to continue to be creative and share my love of sewing and quilting with others, and that brings me joy!
I do write a free monthly newsletter and host a companion Facebook Group, Linda B Creative where I share projects and tutorials. I would love to have you join in the fun. You can subscribe via my website: www.LindaBrattenCreations.com.
 |
| Be sure to ask to join my Facebook Group, Linda B Creative! |
 |
| You can sign up for my newsletter on my website. |
I do fantasize on what a dream studio would look like. I then post them to my Pinterest board, Sew Organized.

 |
| Look for my Pinterest Board, Sew Organized for inspiration! |
If there are others of you who create in small spaces I would love to see how you manage it. Please leave a comment or a photo below, you may inspire me to new methods!

Be sure to check out the others participating in this Spring Clean Your Studio Blog Hop 2019 #springcleanyourstudio2019
April 29 - Linda Bratten - http://lindabcreative.blogspot.com/
April 30 - Sandra Johnson - http://www.sandrajohnsondesigns.com
May 1 - Jennifer Schifano Thomas - http://www.Curlicuecreations.com
May 2 - Becca Fenstermaker - http://www.prettypiney.com
May 3 - Sue Griffiths - http://www.duckcreekmountainquilting.com
May 4 - Kate Starcher - http://katiemaequilts.com/blog
May 5 - Jo Westfoot - http://www.thecraftynomad.co.uk/blog
May 6 - Sam Hunter - http://www.huntersdesignstudio.com
May 7 - Simone Fisher - http://simonequilts.com/blogs/news
May 8 - Elisabeth DeMoo- http://www.brownbirddesignsquilts.com
May 9 - Sarah Myers - http://www.quilted-diary.com/blog
May 10 - Amy Bradley - http://www.purplepineapplestudio.com
May 11 - Kathy Nutley - http://www.QuiltingsByKathy.com
May 12 - Carla Henton - http://createinthesticks.blogspot.com/
May 13 - Sherry Shish - http://www.poweredbyquilting.com
May 14 - Kate Colleran - http://www.seamslikeadream.com/blog
May 15 - Pamela Boatright - https://www.pamelaquilts.com/
May 16 - Cathy McKillip - http://wishuponaquilt.com/blog
May 17 - Cheryl Sleboda - http://blog.muppin.com
Thanks for visiting my small corner of the world, and may you always be inspired.